Placeholder Content Image

Ten gardening tips for beginners

<p>Wondering how to start a garden? You can find your confidence to do it with these expert gardening tips.</p> <p><strong>Site it right</strong></p> <p>Starting a garden is pretty much all about location. Place your garden in a part of your yard where you'll see it regularly because if it’s out of sight, it’ll be out of mind. This way, you'll be much more likely to spend time in it.</p> <p><strong>Follow the sun</strong></p> <p>Misjudging sunlight is a common pitfall when you're first learning to garden. Pay attention to how sunlight plays through your yard before choosing a spot for your garden. Most edible plants, including many vegetables, herbs, and fruits, need at least six hours of sun in order to thrive.</p> <p><strong>Stay close to water</strong></p> <p>One of the best gardening tips you'll ever get is to plan your new garden near a water source. Make sure you can run a hose to your garden site, so you don't have to carry water to it each time your plants get thirsty. The best way to tell if plants need watering is to push a finger an inch down into the soil (that's about one knuckle deep). If it's dry, it's time to water.</p> <p><strong>Start with great soil</strong></p> <p>When starting a garden, one of the top pieces of advice is to invest in soil which is nutrient-rich and well-drained. You can buy garden soil from hardware stores and mix this in with existing soil to make it more nutrient- dense for your plants.</p> <p><strong>Consider containers</strong></p> <p>When space is at a premium, look to containers. You can grow many plants in pots, including vegetables, herbs, flowers, fruit trees, berries, and shrubs. When gardening in containers, use a pot that's large enough for the plant it's hosting, and fill it with some potting mix. This will help the plants to thrive and it will also protect against over and under watering.</p> 
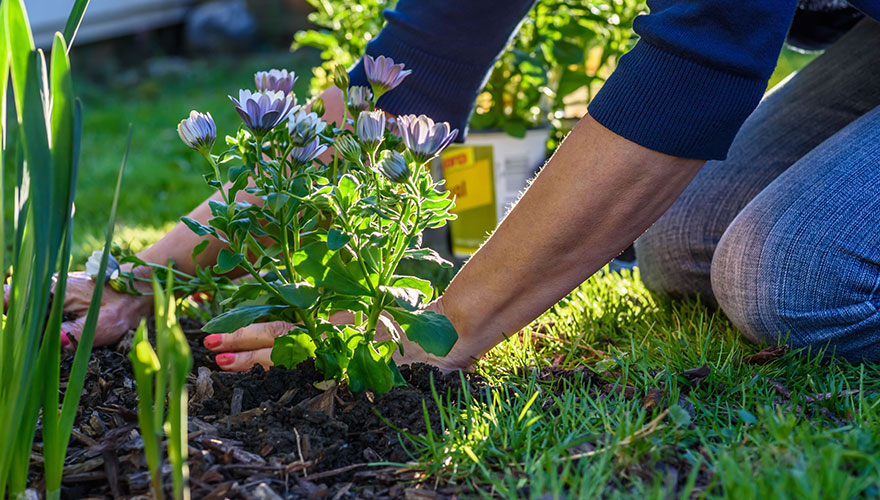
<p><strong>Choose the right plants</strong></p> <p>It's important to select plants which match your growing conditions. This means putting sun-loving plants into a sunny spot, choosing heat-tolerant plants in warm climates, and giving ground-gobbling vines like pumpkins and melons ample elbow room - or a trellis to climb up. Do your homework and pick varieties which will grow well where you live and in the space you have.</p> <p><strong>Discover your zone</strong></p> <p>Knowing your ‘hardiness zone’ can help you choose the best plants. Simply put, it describes the coldest place a plant can grow. The higher the zone number, the warmer the climate. So, if a plant is ‘hardy to zone 4’ and you garden in zone 5, that plant will survive in your yard. If, however, you're in zone 3, it's too cold to grow that particular plant.</p> <p><strong>Learn your frost dates</strong></p> <p>Planting too early or late in the season can spell disaster for your garden. You need to know the last average spring frost date for your area so you don't accidentally kill plants by putting them out prematurely. It's also good to know your first average fall frost date so you can get your plants harvested or moved indoors before late-season cold damages them.</p> <p><strong>Add some mulch</strong></p> <p>Apply a layer of mulch that's two to three inches deep around each plant. This will help reduce weeds by blocking out the sun, and reduce moisture loss through evaporation, so you have to water less. Or, you can put down straw, shredded leaves, pine straw or some other locally available material.</p> <p><strong>Feed plants regularly</strong></p> <p>We've already talked about the importance of starting with great soil, but that soil works best in concert with regular boosts of high-quality nutrition for your plants. In other words, amazing soil + top-notch plant food = super garden success!</p> <p>So, a month after planting, begin feeding your garden with some plant food you’re your local store and be sure to follow label directions.</p> <p><em>Photos: Getty Images</em></p> <p><em> </em></p> <p><em> </em></p> <p><em> </em></p> <p><em> </em></p>

Home & Garden

Placeholder Content Image

How to make free mulch

<p>Autumn leaves aren’t just pretty, they’re full of essential minerals for your garden.<br /> <br />The problem is they fall in such numbers that they can overwhelm the compost bin or form an impenetrable layer if left on the ground.<br /> <br />They are best composted separately in a leaf mould heap, where they break down via a special type of slow, cool decomposition driven mostly by fungi, rather than the warm, fast action of bacteria in a standard heap.<br /> <br />Leaf mould produces a wonderful end product that can be dug in to improve any soil, used as mulch or incorporated into potting mix.<br /> <br />And forget the balancing and turning of traditional compost, just pile up the leaves, wet and forget.<br /> <br />For the best leaf mould, use leaves from deciduous trees, leaving out any with fungal or viral infections.<br /> <br />If you don’t have enough in your own garden, collect them from footpaths and nature strips in the neighbourhood. Leaves from evergreen trees break down more slowly, so keep them to a minimum.<br /> <br />In six to 12 months you’ll have a rich mulch to use on pots and garden beds and within a year or two, a nutritious soil conditioner that also makes a brilliant addition to homemade potting mixes.<br /> <br /><strong>TIP:</strong> Large leaves left on the lawn block sunlight, which can weaken turf. Run the mower over the lawn with the catcher off and the shredded leaves will soon disappear into the grass.  </p> <p><strong>Make leaf mould</strong></p> <p>Although you can make leaf mould with just a heaped-up pile of leaves, the process is easier to manage with some sort of container.<br /> <br />In a small garden, use the bin bag method. Collect fallen leaves and save them in a garbage bag, hosing with water to soak the whole lot.<br /> <br />Make a depression in the top of the tied-off bag and punch a few holes to let in rain. Punch more holes at the base to let excess moisture drain out and keep the bag in a shady area.<br /> <br />If you have space, build a leaf bin, which will allow you to pile your leaves as high as possible. They’ll rot down, so don’t worry if your pile is tall to begin with.<br /> <br />Leaf mould can take two years to rot, so have more than one bin if you want to use it fully rotted.<br /> <br /><strong>TIP</strong>: Plane and sycamore leaves can take three years to rot. Shred them finely or run over the pile several times with a lawnmower to speed things up.</p> <p><strong>Feed the garden</strong></p> <p>Depending on how long you leave  it to break down, leaf mould has many uses in the garden.<br /> <br />It is ideal for use around trees, shrubs, perennials, woodland plants and ferns, while annuals and vegetables prefer the higher nitrogen available in normal compost.<br /> <br />Young leaf mould is usable after six to 12 months when the leaves start breaking up and crumble easily. Use this young product to mulch garden beds and around trees and shrubs, dig it into the soil to add organc matter before planting, or use it as topdressing for lawns.<br /> <br />Well-rotted leaf mould 
is a dark brown crumbly material that’s produced after one to two years, with no real sign of the original leaves.<br /> <br />This material can be used the same way as young leaf mould but also as seed-raising mix. Or combine it with equal parts washed sand, loam and garden compost to make potting mix.</p> <p>How to build a leaf compost bin</p> <p>To make leaf mould, build a bin in a sheltered part of the garden where rain can still get to the leaves, like next to a shed, as they decompose faster if kept damp.</p> <p><strong><u>Step 1:</u></strong> Measure out a square or rectangle to fit your space. Position a garden stake at least 1000mm high at each corner and hammer firmly into the ground.</p> <p><strong><u>Step 2:</u></strong> Secure chicken wire to the stakes with galvanised staples to enclose the bin on three sides. The front is left open so you can add the leaves to the bin.<br /><strong><u>Step 3:</u></strong> Pile up leaves to the top, wetting them down with a hose. When the bin is full, add a mesh front with tie wire so you can remove it to access the leaf mould.</p> <p><strong>Which leaves to use</strong></p> <p>These trees have mineral-rich foliage that breaks down slowly to make a rich soil conditioner. Small leaves rot faster, so shred large or thick leaves.</p> <ul> <li>Maple</li> <li>Liquidambar</li> <li>Oak</li> <li>Ash</li> <li>Poplar</li> <li>Elm</li> <li>Beech</li> <li>Birch</li> </ul> <p><em>Written by Jecca Blake. Republished with permission of </em><a href="http://www.handyman.net.au/how-make-free-mulch"><em>Handyman Australia</em></a><em>.</em></p>

News

Our Partners